Miniconda常用操作
安装(linux下)
下载安装脚本(其实是安装包,一百四十多兆),为其添加执行权限
wget https://repo.anaconda.com/miniconda/Miniconda3-latest-Linux-x86_64.sh
chmod +x Miniconda3-latest-Linux-x86_64.sh

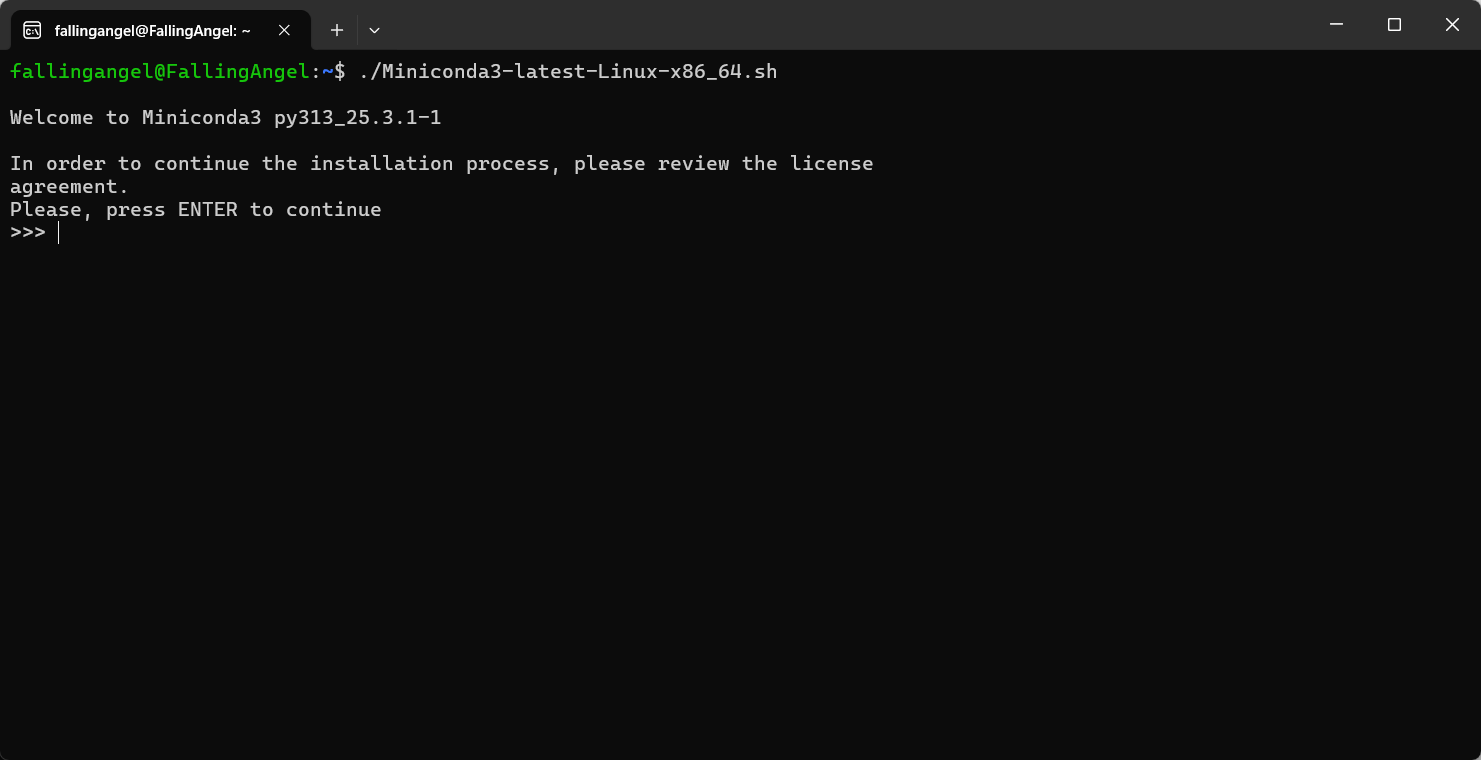
执行安装
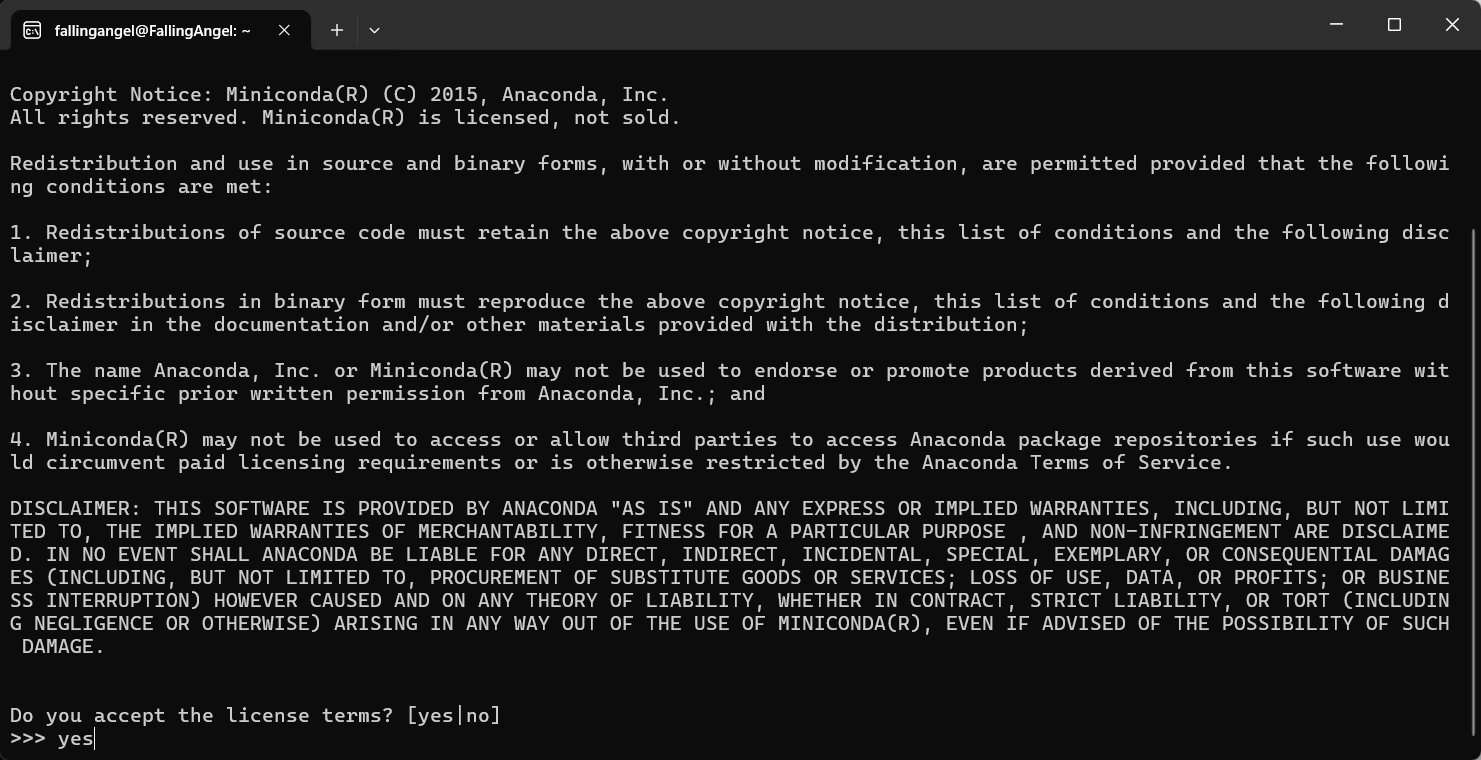
回车开始阅读license
yes同意icense
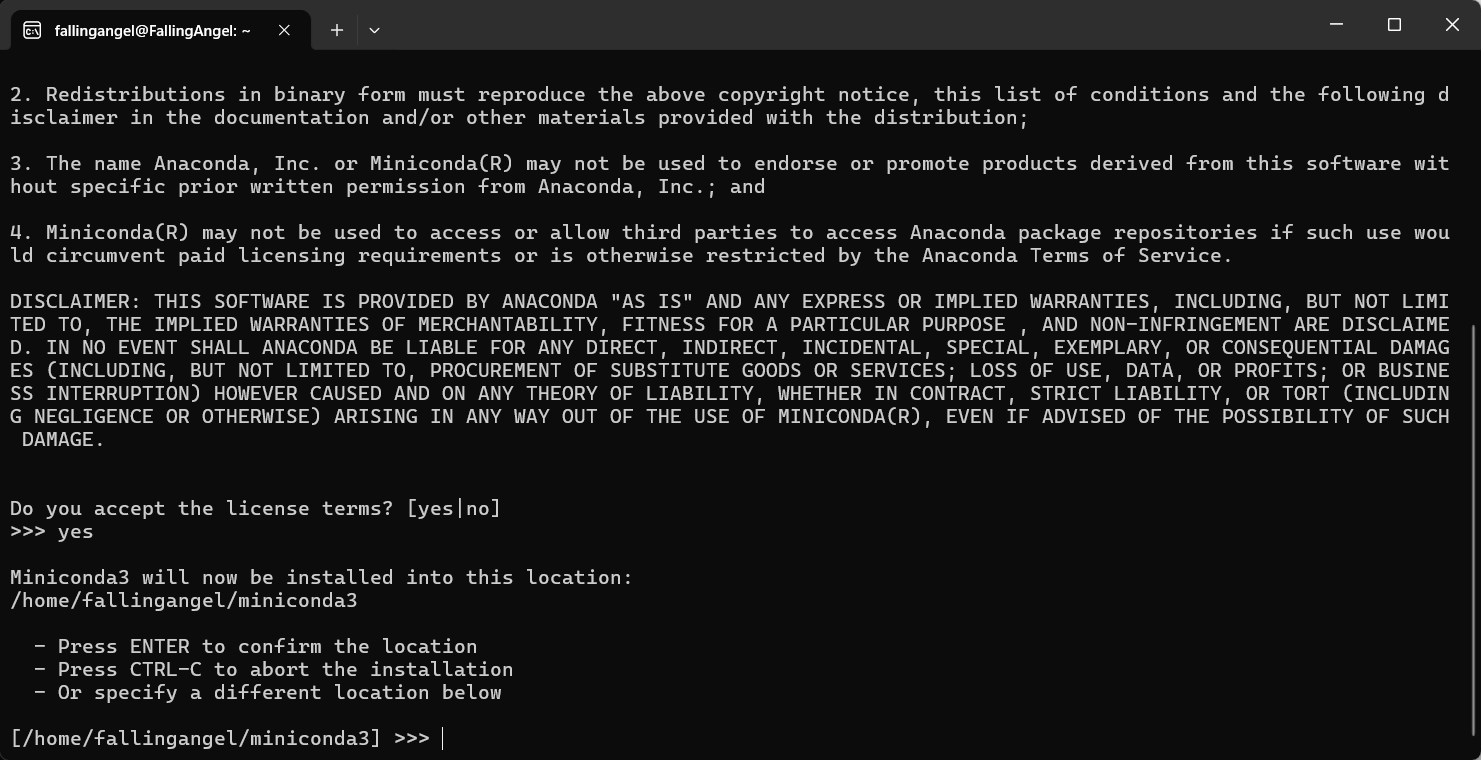
确认安装位置
直接回车开始安装,Ctrl - C取消安装,输入新的位置再回车选定其它位置
初始化conda

输入yes即可自动初始化,no则不初始化,但随后可conda init手动初始化
初始化conda之非bash终端
以上是标准bash终端的初始化方法,但如果是fish或者zsh这种终端,初始化就会是这个样子:
╭─fallingangel@FallingAngel in ~ took 0s
╰─λ conda init
no change     /home/fallingangel/miniconda3/condabin/conda
no change     /home/fallingangel/miniconda3/bin/conda
no change     /home/fallingangel/miniconda3/bin/conda-env
no change     /home/fallingangel/miniconda3/bin/activate
no change     /home/fallingangel/miniconda3/bin/deactivate
no change     /home/fallingangel/miniconda3/etc/profile.d/conda.sh
no change     /home/fallingangel/miniconda3/etc/fish/conf.d/conda.fish
no change     /home/fallingangel/miniconda3/shell/condabin/Conda.psm1
no change     /home/fallingangel/miniconda3/shell/condabin/conda-hook.ps1
no change     /home/fallingangel/miniconda3/lib/python3.13/site-packages/xontrib/conda.xsh
no change     /home/fallingangel/miniconda3/etc/profile.d/conda.csh
no change     /home/fallingangel/.bashrc
No action taken....然后你会发现无事发生,就和没初始化一样——No action taken,当然就是没初始化了嘛
那么怎么办呢?
使用conda安装路径中,bin/下的conda 本体,选用自己的终端类型来初始化,就像这样:
conda init 终端类型╭─fallingangel@FallingAngel in ~ took 3s
╰─λ miniconda3/bin/conda init fish
no change /home/fallingangel/miniconda3/condabin/conda
no change /home/fallingangel/miniconda3/bin/conda
no change /home/fallingangel/miniconda3/bin/conda-env
no change /home/fallingangel/miniconda3/bin/activate
no change /home/fallingangel/miniconda3/bin/deactivate
no change /home/fallingangel/miniconda3/etc/profile.d/conda.sh
no change /home/fallingangel/miniconda3/etc/fish/conf.d/conda.fish
no change /home/fallingangel/miniconda3/shell/condabin/Conda.psm1
no change /home/fallingangel/miniconda3/shell/condabin/conda-hook.ps1
no change /home/fallingangel/miniconda3/lib/python3.13/site-packages/xontrib/conda.xsh
no change /home/fallingangel/miniconda3/etc/profile.d/conda.csh
modified /home/fallingangel/.config/fish/config.fish
==> For changes to take effect, close and re-open your current shell. <==然后重启终端,即完成conda初始化
╭─fallingangel@FallingAngel in ~ took 0s
╰─λ conda --version
conda 25.5.1
配置启动时自动启用基本环境
默认情况下,conda会在初始化时会启用启动时自动激活基本环境
这个配置可以在安装完成后通过这个命令取消:
conda config --set auto_activate_base false
验证安装
conda --version
fallingangel@FallingAngel:~$ conda --version
conda 25.3.1
接受Terms of Service
arch下,conda可能需要接受一些协议,创建环境、安装包时可能有如下提示:
CondaToSNonInteractiveError: Terms of Service have not been accepted for the following channels. Please accept or remove them before proceeding:
    • https://repo.anaconda.com/pkgs/main
    • https://repo.anaconda.com/pkgs/r

To accept a channel's Terms of Service, run the following and replace `CHANNEL` with the channel name/URL:
    ‣ conda tos accept --override-channels --channel CHANNEL

To remove channels with rejected Terms of Service, run the following and replace `CHANNEL` with the channel name/URL:
    ‣ conda config --remove channels CHANNEL
按照提示,这是接收协议的方法:
conda tos accept --override-channels --channel URL完整流程如下:
╭─fallingangel@FallingAngel in ~ took 1s
╰─λ conda tos accept --override-channels --channel https://repo.anaconda.com/pkgs/main
accepted Terms of Service for https://repo.anaconda.com/pkgs/main

╭─fallingangel@FallingAngel in ~ took 0s
╰─λ conda tos accept --override-channels --channel https://repo.anaconda.com/pkgs/r
accepted Terms of Service for https://repo.anaconda.com/pkgs/r
配置使用代理
arch下,即使系统有配置环境变量https_proxy和http_proxy,conda也不会直接使用它,所以可能有如下报错:
Platform: linux-64
Collecting package metadata (repodata.json): - \ | / - \ | / - \ | / failed


CondaHTTPError: HTTP 000 CONNECTION FAILED for url <https://repo.anaconda.com/pkgs/main/linux-64/repodata.json>
Elapsed: -

An HTTP error occurred when trying to retrieve this URL.
HTTP errors are often intermittent, and a simple retry will get you on your way.

If your current network has https://repo.anaconda.com blocked, please file
a support request with your network engineering team.

'https//repo.anaconda.com/pkgs/main/linux-64'这里可以执行conda config --show proxy_servers查看conda的配置信息:
╭─fallingangel@FallingAngel in ~ took 0s
╰─λ conda config --show proxy_servers
proxy_servers: {}
可以看到,代理环境变量是空的
通过如下命令完成配置:
╭─fallingangel@FallingAngel in ~ took 1s
╰─λ conda config --set proxy_servers.http URL

╭─fallingangel@FallingAngel in ~ took 0s
╰─λ conda config --set proxy_servers.https URL
╭─fallingangel@FallingAngel in ~ took 0s
╰─λ conda config --show proxy_servers
proxy_servers:
http: URL
https: URL创建虚拟环境
conda create -n 环境名称 要包含的软件列表
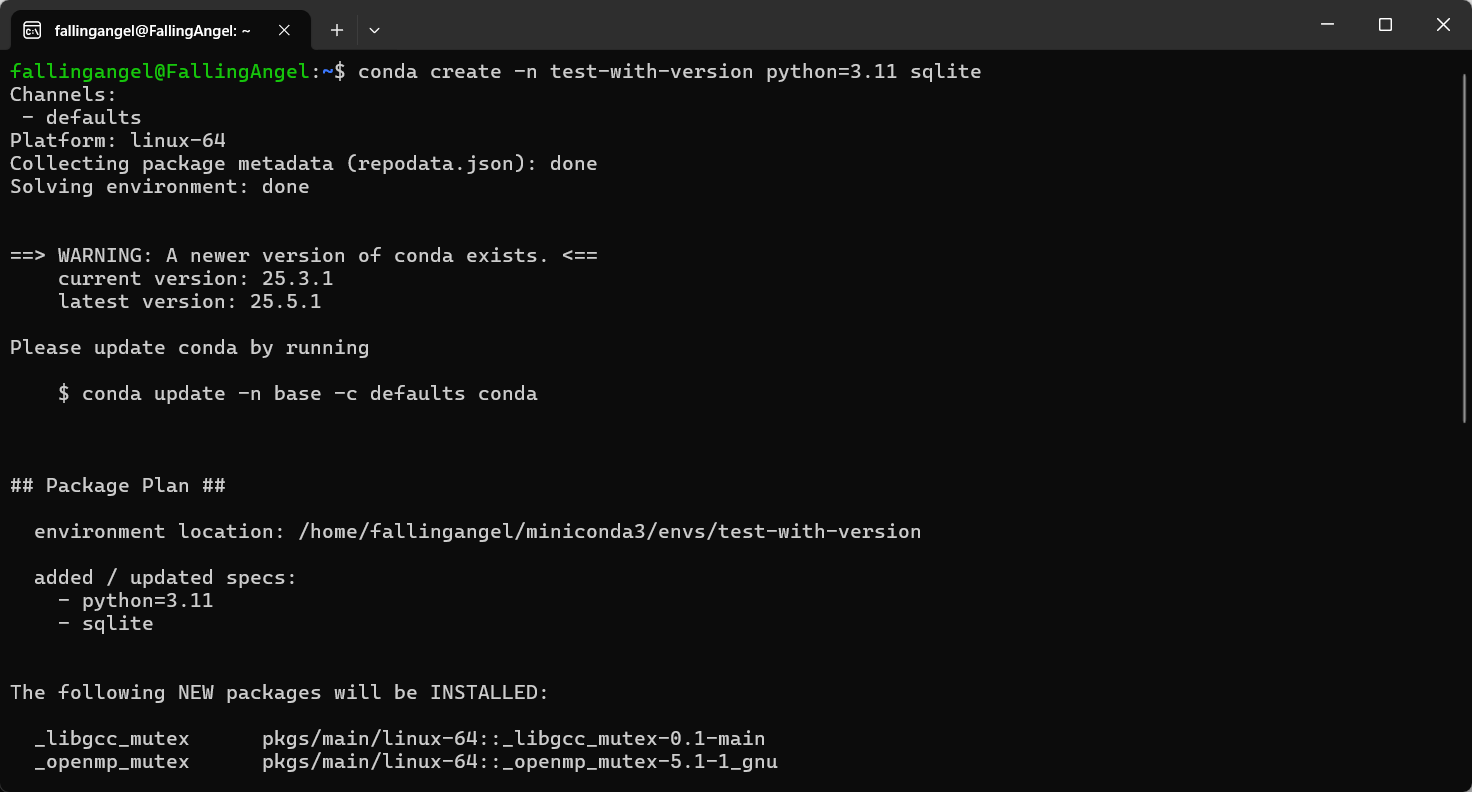
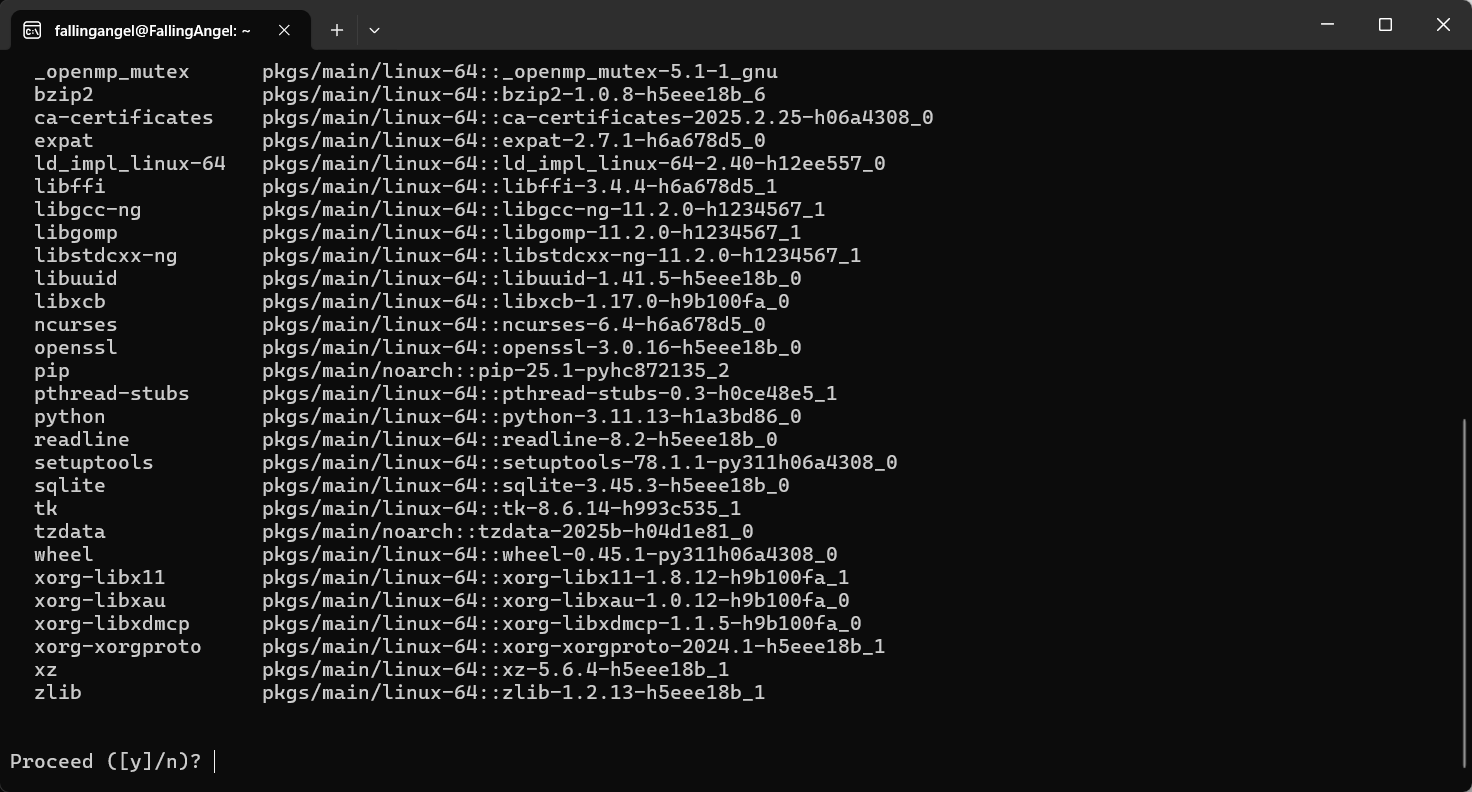
创建过程中需要确认是否安装依赖,选择安装(y)即可:
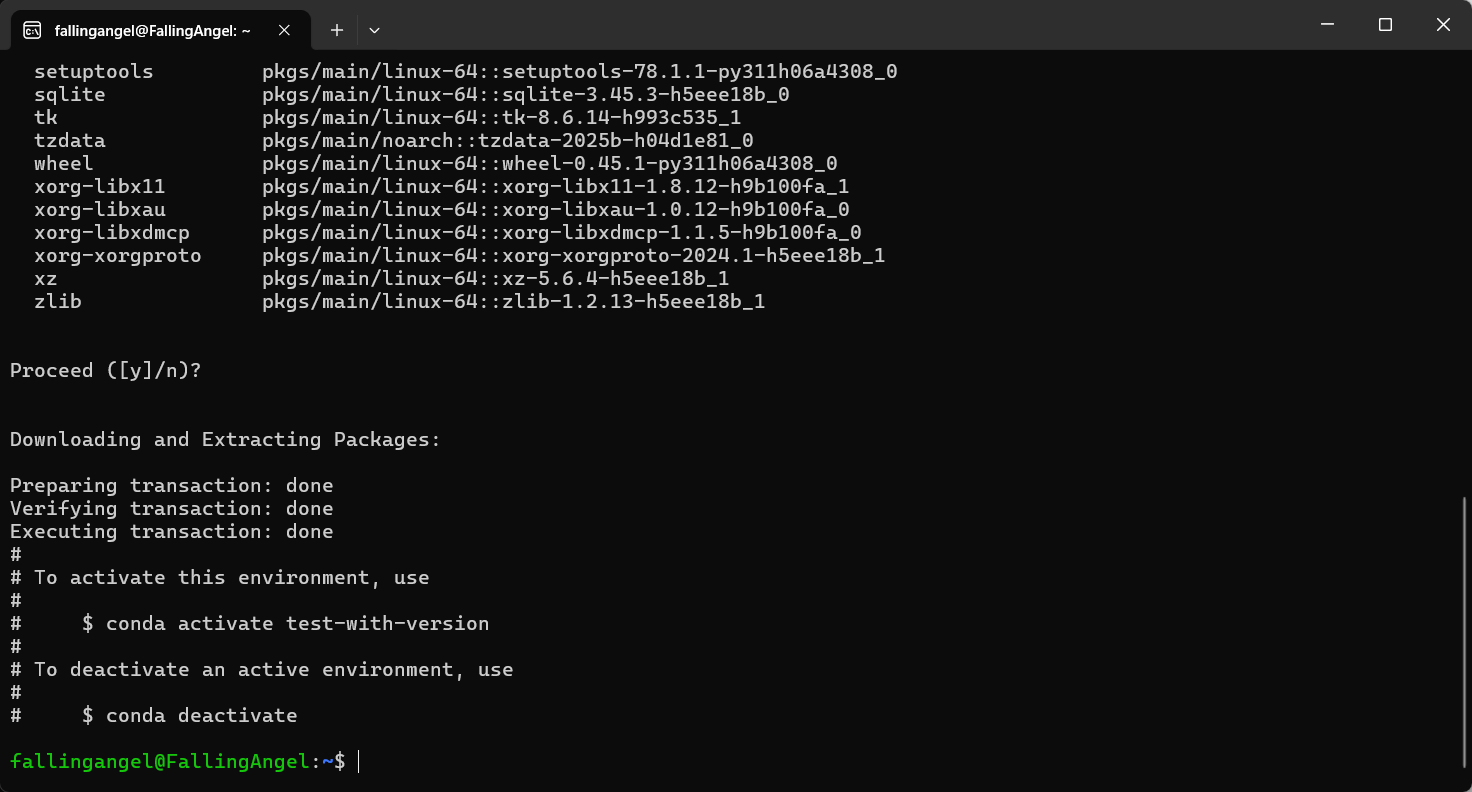
创建完成
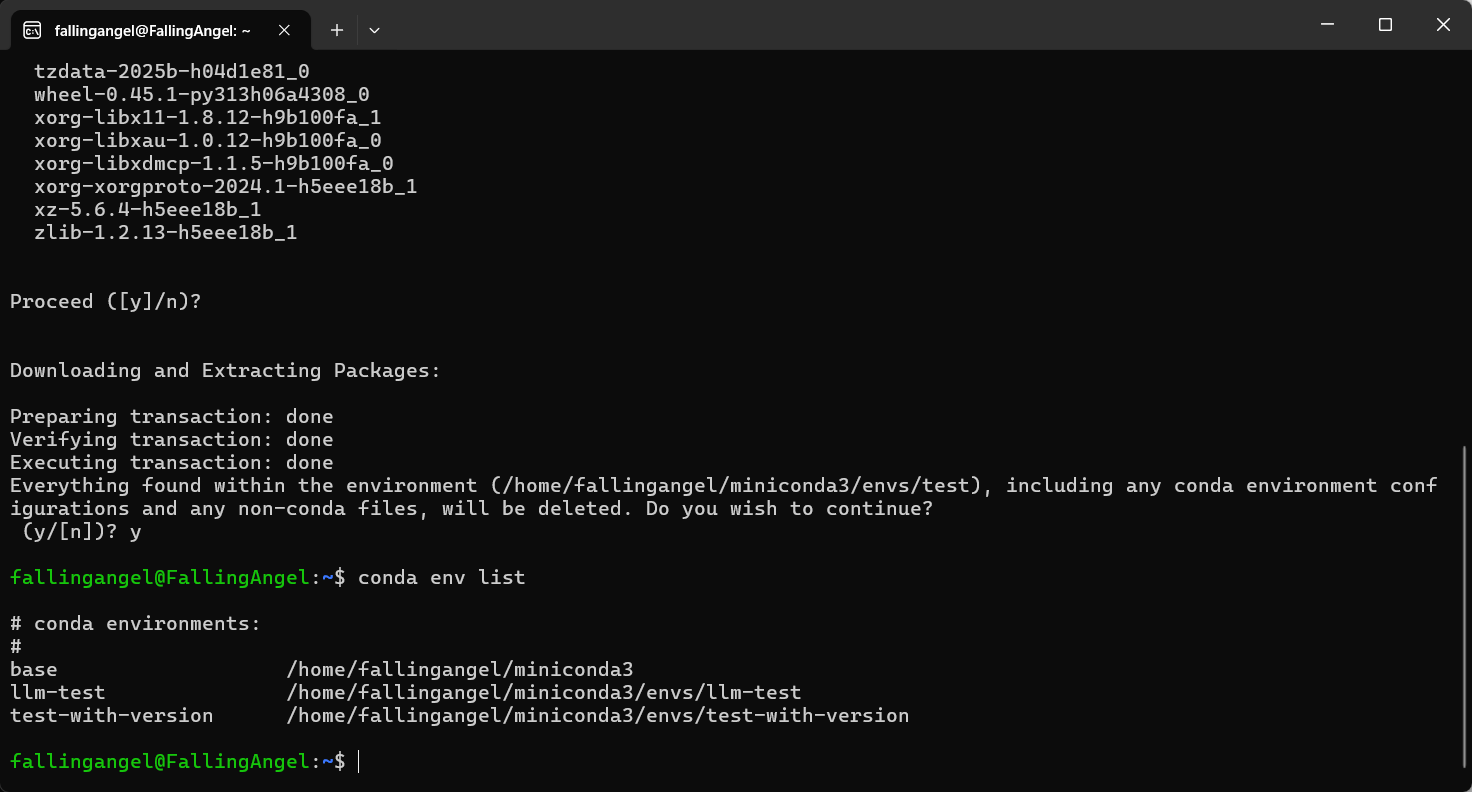
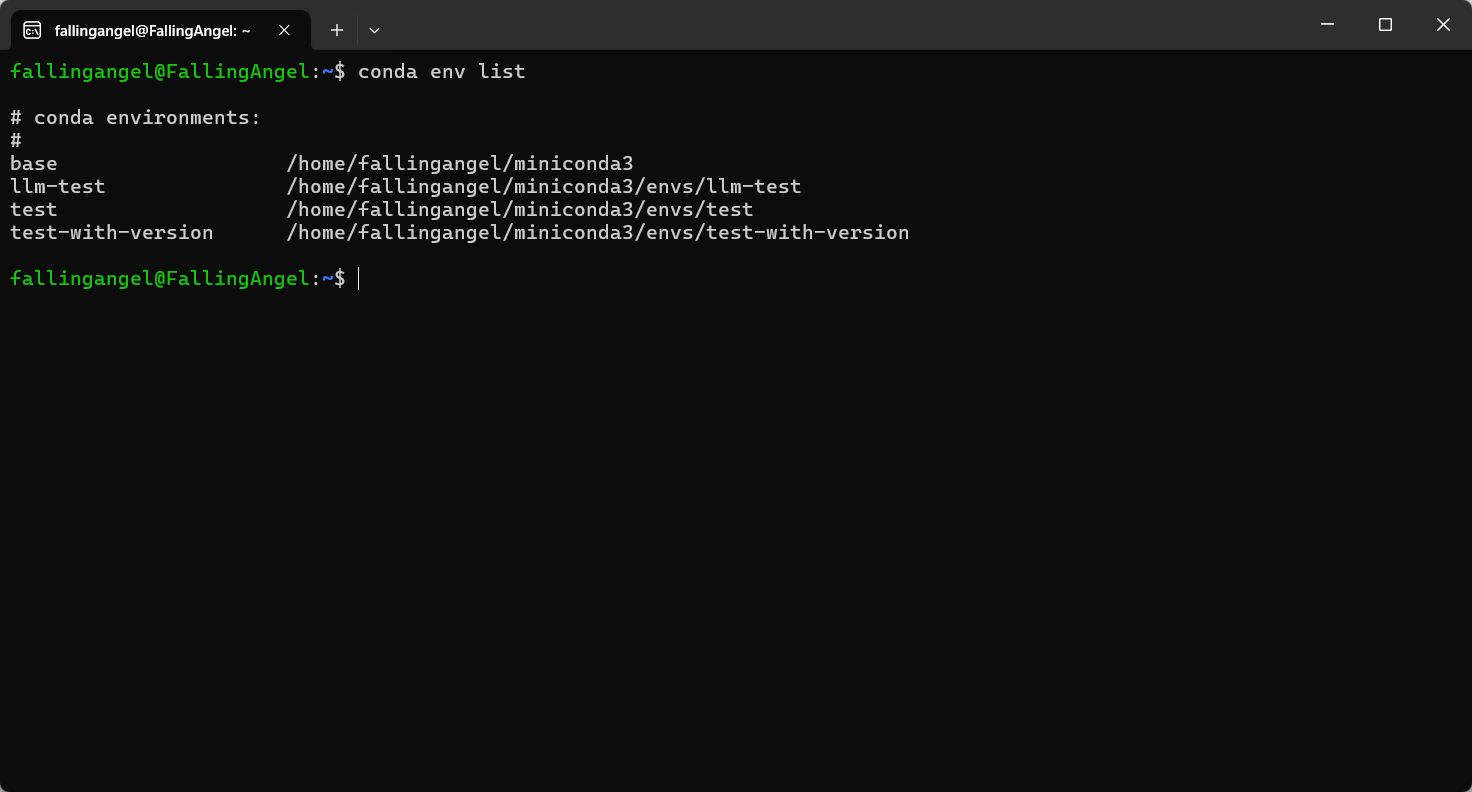
查看虚拟环境列表
conda env list
激活虚拟环境
conda activate 环境名称
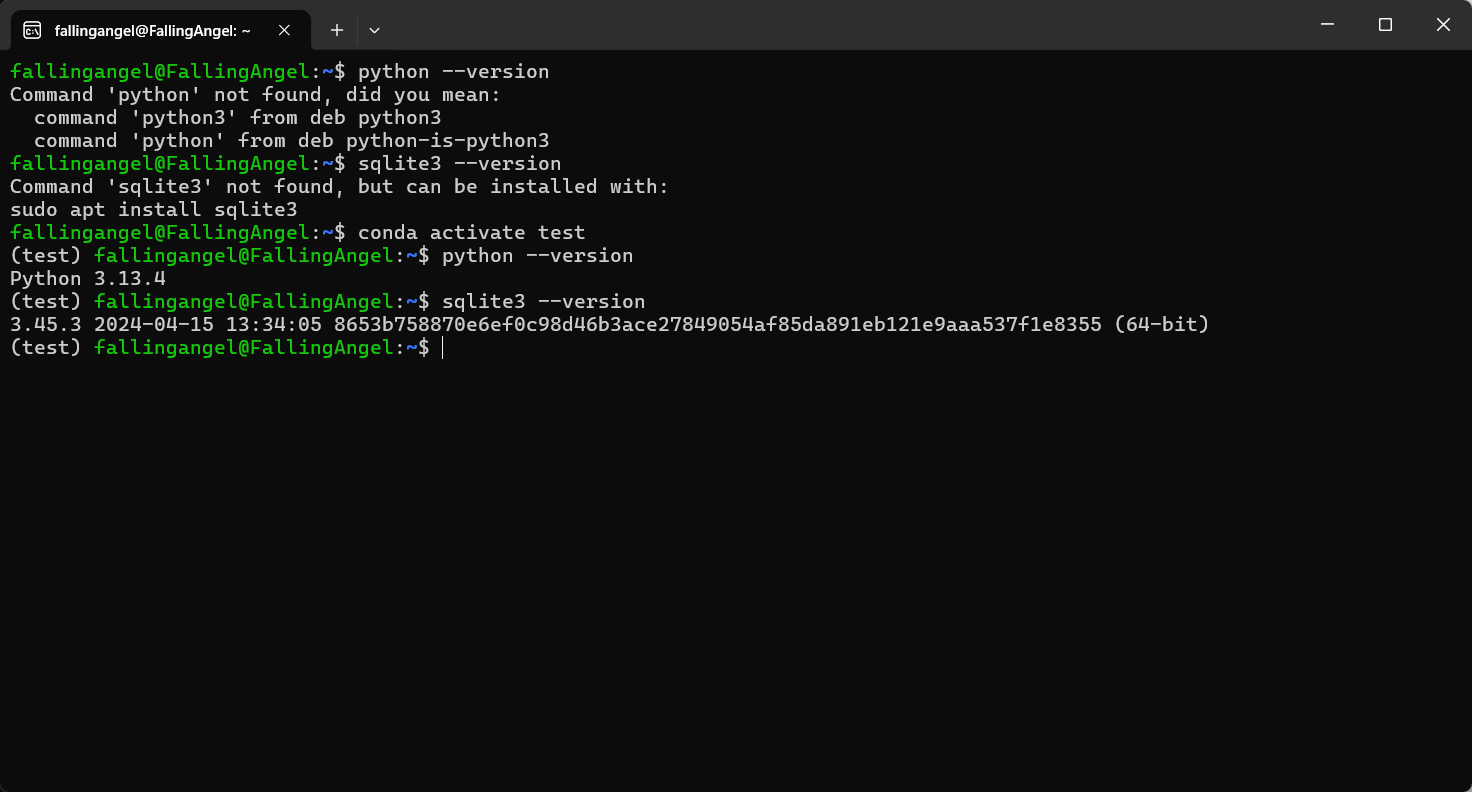
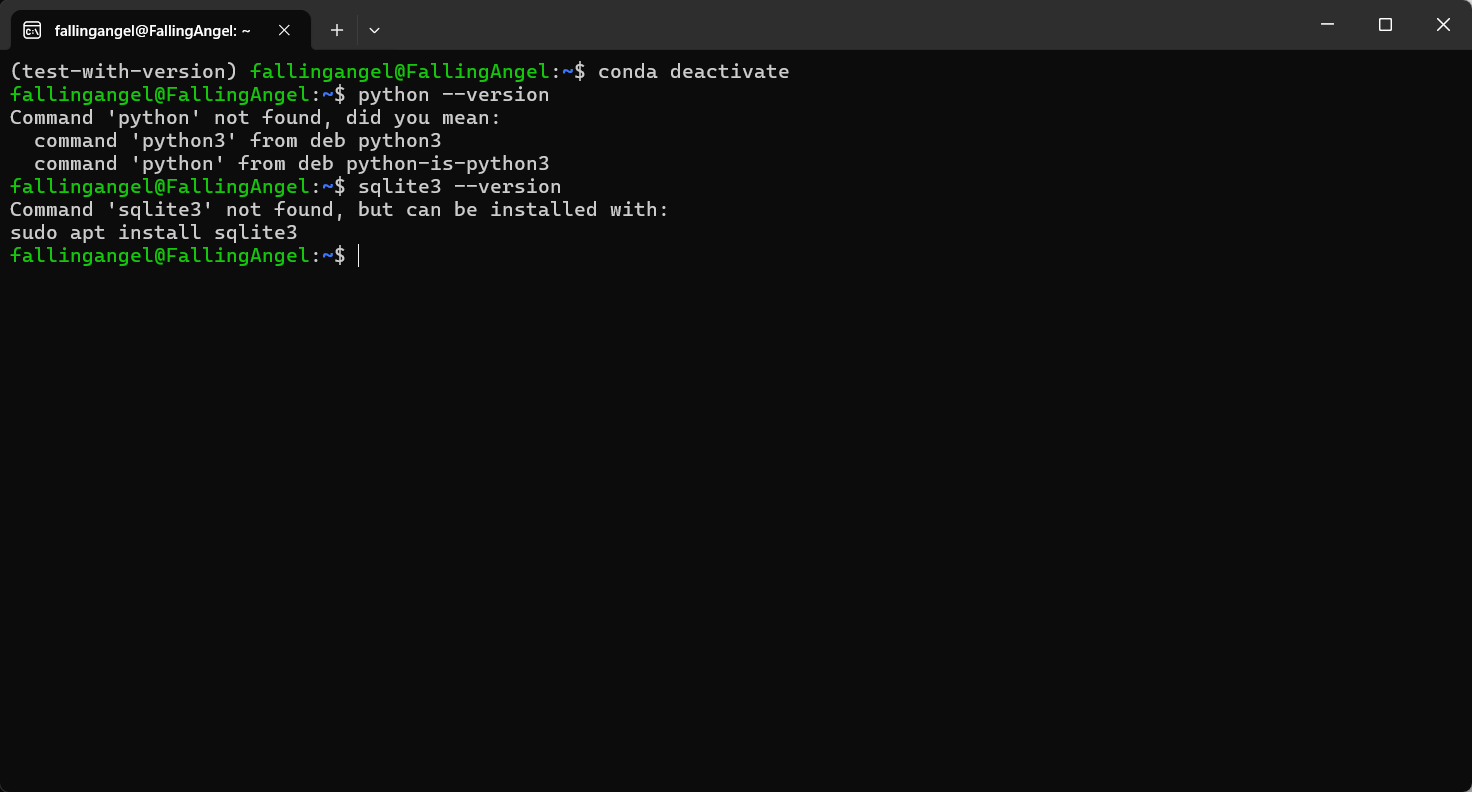
退出虚拟环境
conda deactivate
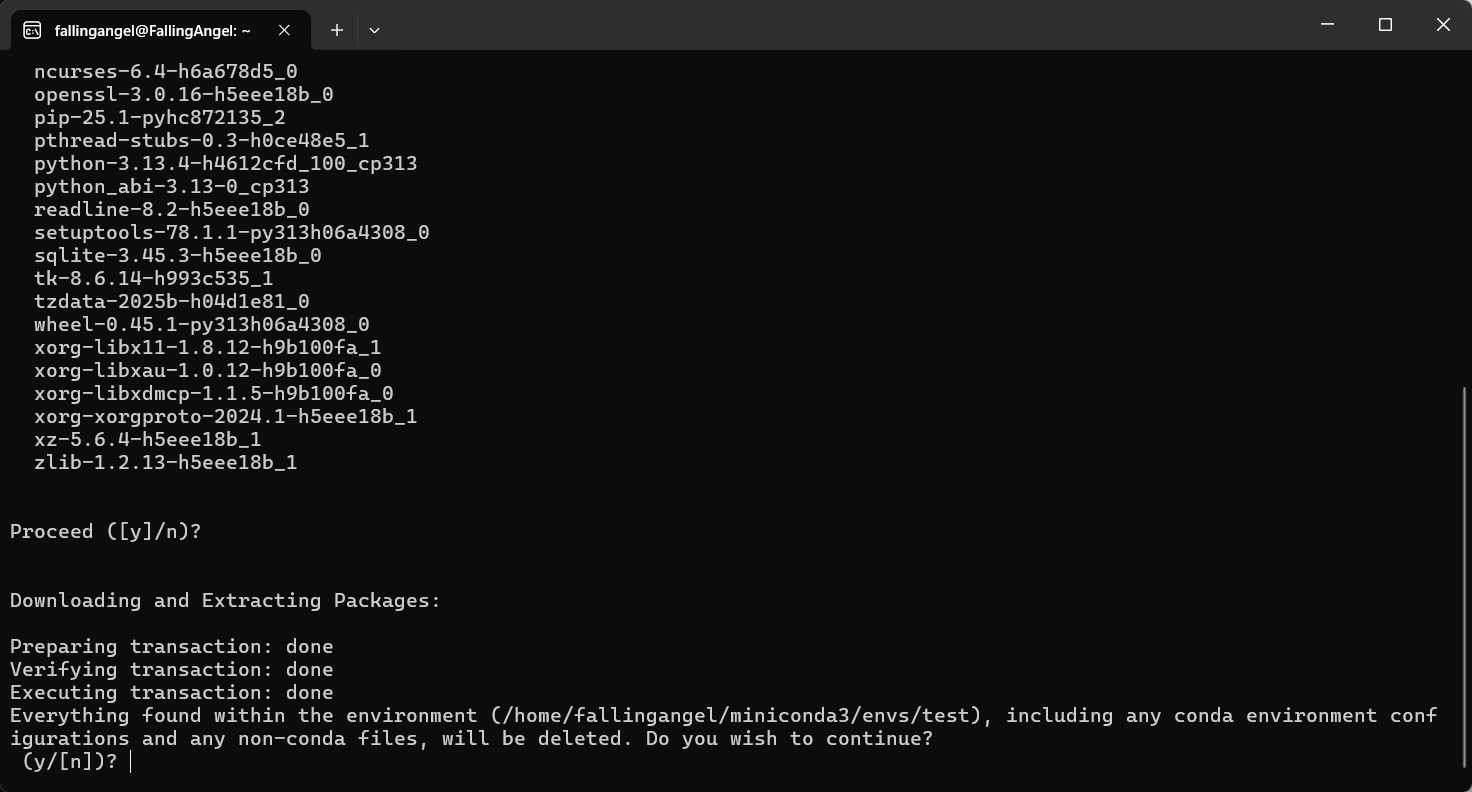
删除虚拟环境
conda env remove -n 环境名称
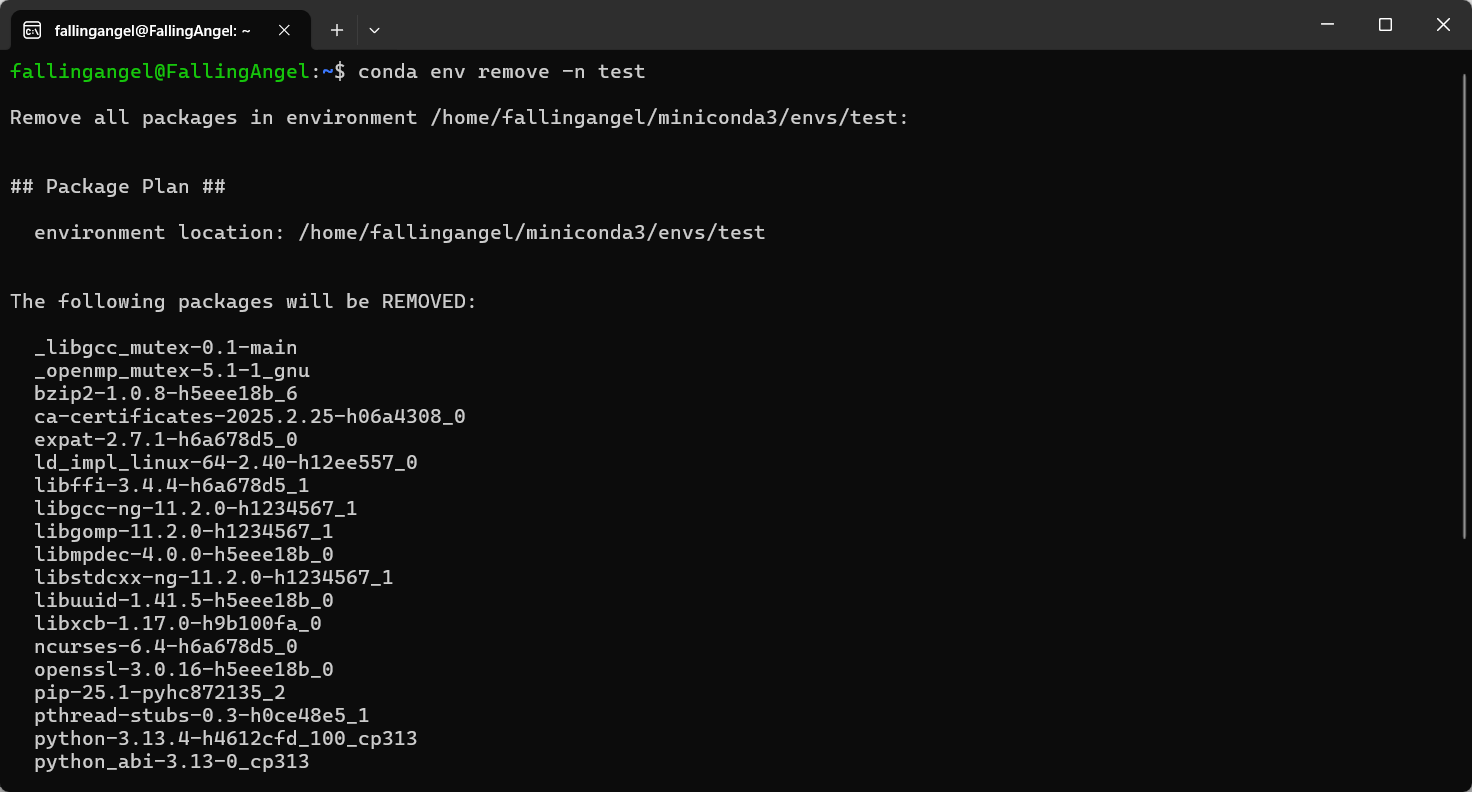
确认是否删除(默认删除)
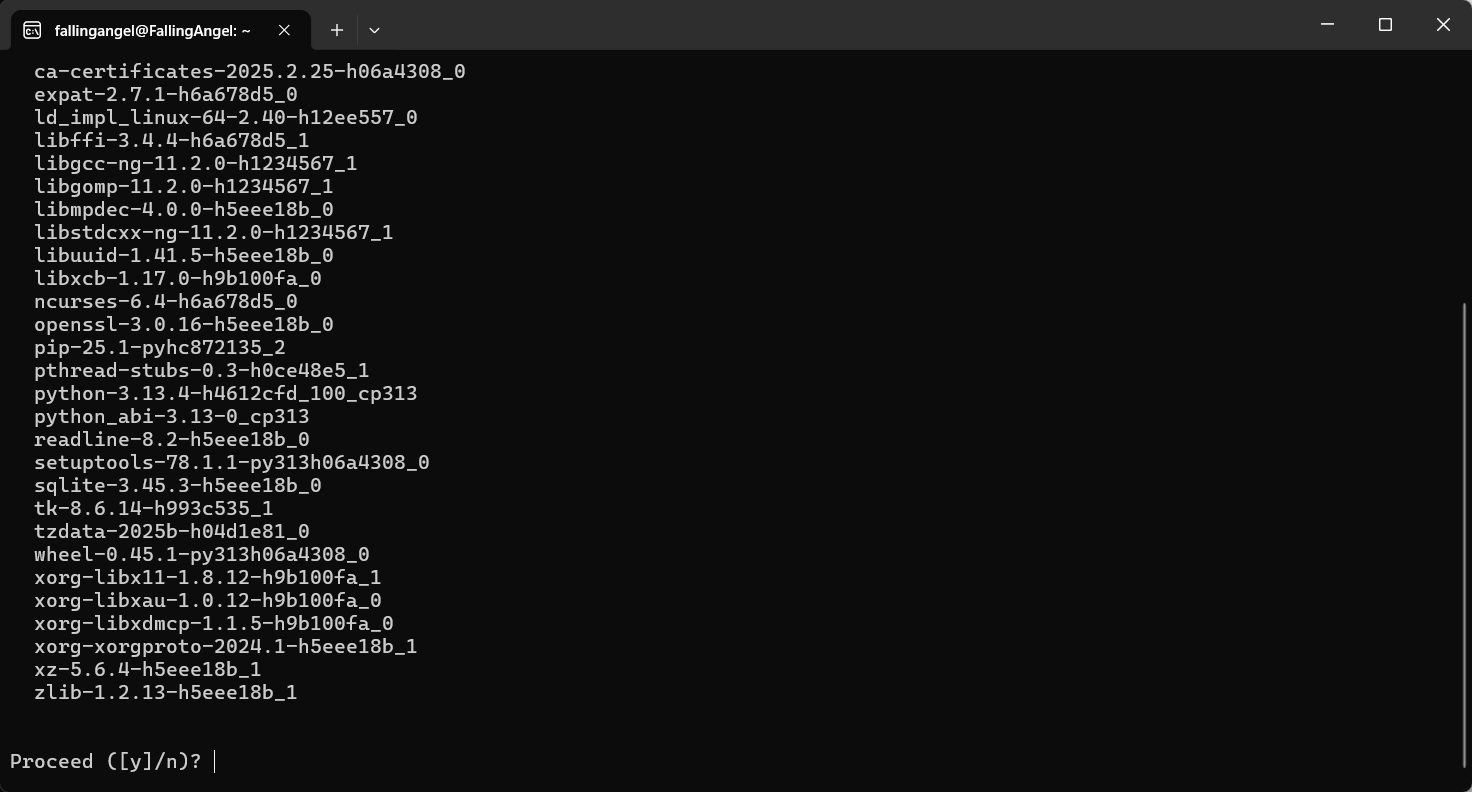
确认是否删除配置文件(默认不删除)
删除成功